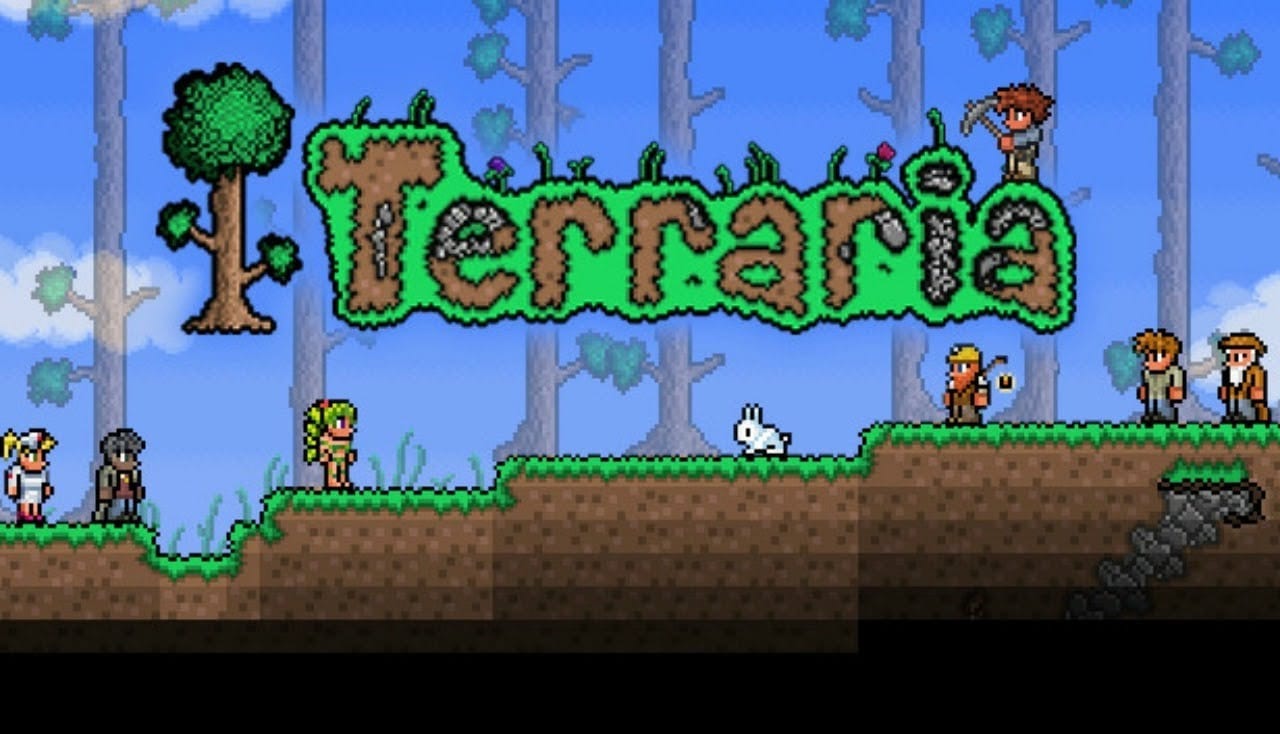
Before entering Hardmode, it can save a huge amount of trouble to prepare your world in advance. Once Hardmode starts, stronger enemies appear, Corruption or Crimson spreads faster, the Hallow spawns, and several areas become much more dangerous to build in.
This checklist covers 15 useful farms, arenas, barriers, travel routes, and resource setups that are worth preparing before defeating the Wall of Flesh.
15. Build a Barrier Around Your Base
One of the most important preparations is protecting your main base from biome spread.
When Hardmode begins, new:
- Corruption or Crimson
- Hallow
areas appear and begin spreading.
The source recommends digging a tunnel around whatever areas you want to protect.
Good targets include:
- Main base
- Farms
- NPC areas
- Important builds
How Wide Should the Barrier Be?
The source explains that biome spread can reach nearby spreadable blocks within roughly:
3 blocks
So the tunnel should have at least:
3 blocks of empty space
The example uses:
6 blocks
for extra safety.
14. Build a Skybridge and Battle Arena
A long Skybridge gives you a simple place to fight bosses and events.
The basic design is just:
- Long rows of Platforms
- Enough vertical space to jump between levels
This can be useful for:
- Hardmode bosses
- Invasions
- Events
- General combat
You can also prepare a larger battle arena before Hardmode so you don’t have to build it while stronger enemies are constantly attacking you.
The source specifically recommends doing as much construction as possible beforehand.
13. Build a Hellbridge
Your Hellbridge is mainly used for the:
Wall of Flesh
but it can remain useful after Hardmode starts.
The source recommends building it from:
Ice Blocks
if possible.
Why Use Ice?
With Frostspark Boots, Ice can give you much faster horizontal movement.
That makes the Wall of Flesh fight easier because you can move quickly across the Underworld.
After Hardmode begins, parts of the Ice bridge may also become Hallowed and turn into:
Pink Ice
which can produce useful resources such as:
Crystal Shards
This gives the Hellbridge additional value later.
12. Build a Hellevator and Minecart Route
A:
Hellevator
is a straight vertical tunnel from your base down toward the Underworld.
It gives you fast access to deep underground areas without following slow winding cave systems.
This becomes even more useful in Hardmode because stronger enemies make long underground travel more dangerous.
Add a Safe Landing Area
The source recommends putting a small Water pool near the bottom.
This prevents fall damage if you accidentally drop all the way down.
Place the Water slightly above the Underworld so it doesn’t evaporate.
Build Horizontal Minecart Routes
Minecart tracks can do the same thing horizontally.
Useful destinations include:
- Dungeon
- Jungle
- Ocean
- Other distant biomes
Having these routes already built saves a lot of travel time.
11. Prepare a Mimic and Souls Farm
Mimics and Souls don’t become useful until Hardmode, but the farm itself can be prepared beforehand.
This is valuable because:
- Mimics can drop strong early Hardmode equipment
- Souls are required for many recipes
The source recommends clearing and preparing the area before Hardmode so you can start farming almost immediately afterward.
Even a basic Lava setup can be enough to make the area functional.
10. Prepare a Dungeon Farm
The Dungeon becomes much more dangerous after:
Plantera
is defeated.
Stronger Dungeon enemies start appearing and can make construction extremely difficult.
Because of that, it’s useful to build or at least prepare a Dungeon farming area before that happens.
Ideally, prepare it before Hardmode entirely.
You can later add:
- Lava
- Traps
- Other killing systems
when you’re ready to farm the upgraded Dungeon enemies.
9. Build Fishing Farms
Fishing becomes especially useful in Hardmode because many Fish are ingredients for powerful:
Buff Potions
These can make a major difference during:
- Boss fights
- Events
- Invasions
Preparing fishing spots in several biomes before Hardmode means you won’t have to build them while dealing with stronger enemies.
Useful fishing areas can include:
- Forest
- Jungle
- Snow
- Ocean
- Underground
- Other biome-specific pools
8. Build an Antlion Farm
An Antlion farm gives you a reliable supply of:
Antlion Mandibles
These are useful for crafting:
Mining Potions
Mining Potions significantly increase mining speed.
That makes them useful throughout the entire game, especially once you start searching for Hardmode ores.
The source notes that the farm can be even more efficient before Hardmode because fewer unrelated enemies are competing for spawns.
A basic version can work using:
Lava
without requiring complicated traps.
7. Build a Cobweb Farm
Cobwebs are easy to overlook, but they are used in several important recipes.
The source highlights their use for:
- Dangersense Potions
- Silk
- Other crafting
Dangersense Potions
These help reveal traps.
That can make collecting traps from places such as the Jungle Temple much easier.
Silk
Silk is used for:
- Furniture
- Various crafting recipes
- Event-related items
Because many recipes require large amounts of Cobweb, having a reliable farm can save a lot of time.
6. Build a Glowing Mushroom and Truffle Worm Farm
A Glowing Mushroom farm has several long-term uses.
The source recommends building one early because Glowing Mushrooms are used repeatedly throughout progression.
They can be used for:
- Healing Potions
- Shine Potions
- Later-game crafting
- Shroomite-related progression
Truffle Worms
A properly designed Glowing Mushroom farm can also work as a:
Truffle Worm farm
Truffle Worms are needed later to summon:
Duke Fishron
Because they can be annoying to find naturally, collecting them through a prepared farm is much more convenient.
5. Build a Jungle Farm and Arena Near Your Base
A controlled Jungle farm can be useful for several reasons.
The source recommends building one relatively close to your base.
It can later help with:
- Plantera Bulbs
- Life Fruit
- Jungle bait
- Plantera arena preparation
Life Fruit
The source highlights Life Fruit as an important Hardmode upgrade.
They increase maximum health from:
400 to 500
once enough are collected.
Having a prepared Jungle farming area can make collecting them much easier than searching through a natural Jungle every time.
4. Build a Mushroom and Bait Farm
This setup focuses on regular Mushrooms and bait.
Regular Mushrooms are useful for:
Regeneration Potions
which are helpful for:
- Boss fights
- Events
- Invasions
Once Hardmode biome spread starts changing your world, ordinary grass and regular Mushrooms may become less common in some areas.
Creating a protected farm beforehand gives you a permanent source.
The farm can also provide bait such as:
- Grasshoppers
- Worms
- Occasional Golden Critters
3. Build a Tree Farm
Wood remains useful throughout the game.
Instead of constantly traveling farther from your base looking for fresh trees, build a dedicated farm nearby.
This gives you a consistent supply of:
- Regular Wood
- Potentially Palm Wood
- Other Wood types depending on the setup
The source recommends isolating the tree farm so biome spread doesn’t replace the normal environment around it.
2. Build an Herb Farm and Pumpkin Patch
This is one of the most useful general preparation setups.
Herb Farm
Herbs are needed for many:
Buff Potions
Those Potions become extremely valuable in Hardmode boss fights and events.
A simple compact herb farm is often more useful than an overly complicated automated design.
The source specifically prefers a smaller manual setup using:
Staff of Regrowth
rather than large systems involving:
- Traps
- Conveyors
- Actuators
because the compact setup is easier to manage and takes less space.
Pumpkin Patch
Pumpkins are useful for several reasons.
One early use is:
Pumpkin Pie
which provides the:
Well Fed
buff.
The source gives the duration as:
45 minutes on PC
The Well Fed buff improves several character stats.
Pumpkins are also used later for:
Pumpkin Moon Medallions
which summon the Pumpkin Moon event.
Because repeated Pumpkin Moon runs require lots of Pumpkins, growing them in advance can be worthwhile.
Preparing a Terraria world before Hardmode?
A comfortable gaming mouse can make large building projects, inventory management, wiring, and long farming sessions easier.
Shop Products on Amazon →
1. Build a Liquid Farm and Mixing Room
The number-one recommendation is a dedicated liquid setup.
The three important liquids are:
- Water
- Lava
- Honey
You use them repeatedly throughout the game for:
- Building
- Fishing
- Arena preparation
- Crafting materials
- Mixing different block types
- Other utility setups
Instead of traveling around your world every time you need a Bucket of liquid, build a centralized system near your base.
The source recommends creating:
- Water storage
- Lava storage
- Honey storage
- A mixing area
The setup can be started before Hardmode once you have access to the:
Mechanic
Full Pre-Hardmode Preparation Checklist
Here are all 15 recommended preparations in one place.
- Liquid farm and mixing room
- Herb farm and pumpkin patch
- Tree farm
- Mushroom and bait farm
- Jungle farm and Plantera arena
- Glowing Mushroom and Truffle Worm farm
- Cobweb farm
- Antlion farm
- Fishing farms
- Dungeon farm
- Mimic and Souls farm
- Hellevator and Minecart routes
- Hellbridge
- Skybridge and battle arena
- Base protection barrier
Best Things to Prioritize Before Hardmode
You don’t necessarily need to build every farm before killing the Wall of Flesh.
If you’re short on time, prioritize the setups that become most annoying or dangerous to build later.
Protect Your Base
Biome spread begins immediately after Hardmode starts.
Having barriers already in place can prevent a lot of cleanup later.
Build Your Hellevator
You’ll spend a lot of time underground looking for Hardmode ores and materials.
Fast vertical travel is extremely useful.
Prepare a Boss Arena
The Mechanical Bosses arrive early in Hardmode.
Having a fighting area ready means you don’t have to construct one while enemies attack you.
Build Your Herb Farm
Hardmode bosses become much easier when you have a steady supply of buff Potions.
Prepare Mimic and Soul Farming
Early Hardmode Mimic drops and Souls can unlock some of your strongest upgrades.
Build a Jungle Farm
A prepared Jungle area can later help with:
- Life Fruit
- Plantera
- Jungle bait
- Other Jungle resources
Why You Should Build Farms Before Hardmode
The main advantage is safety.
Construction is much easier in pre-Hardmode because the enemies are weaker and biome spread isn’t as aggressive.
Once Hardmode begins:
- Enemies become stronger
- New enemies appear
- Corruption or Crimson spreads faster
- Hallow begins spreading
- More invasions and events become possible
That means even simple construction projects can become much more annoying.
By preparing travel routes, arenas, farms, and protected resource areas in advance, you can spend early Hardmode actually progressing instead of trying to build everything while constantly being attacked.
A well-prepared world makes the transition after the Wall of Flesh significantly smoother and gives you immediate access to the resources, arenas, and farms you’ll need for the next stage of Terraria.
Leave a Reply