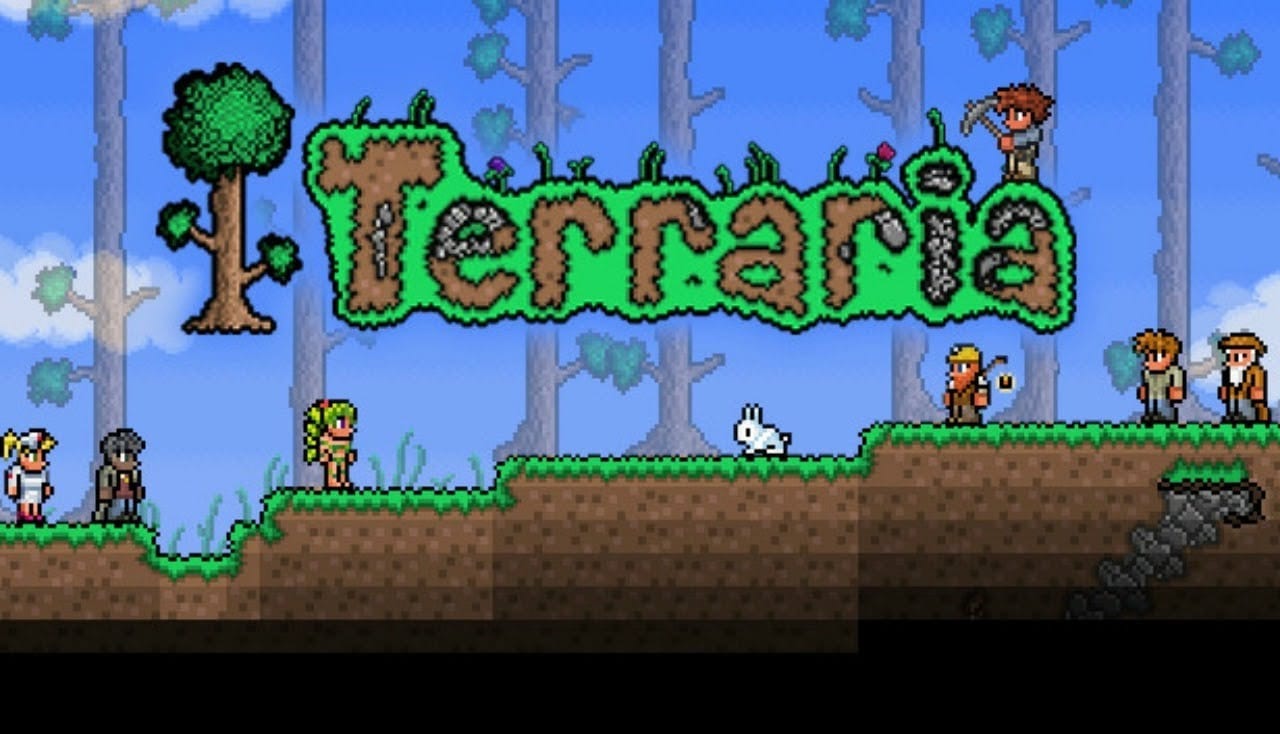
Terraria’s pre-Hardmode bosses are your main progression checkpoints before the world changes dramatically with Hardmode. Some are fairly straightforward, while others can destroy an unprepared character in seconds.
This guide covers every major pre-Hardmode boss in Terraria, including how to summon them, useful arena setups, recommended weapons for different classes, and practical tips for making each fight easier.
King Slime
King Slime is one of the simplest Terraria bosses, but his contact damage can still hurt badly during the early game.
How to Summon King Slime
King Slime can appear during the Slime Rain event after enough slimes have been defeated.
You can also summon him directly using a Slime Crown.
How to Beat King Slime
King Slime has no traditional projectile attack, so the biggest danger is allowing him to land directly on you.
His contact damage is high enough to cause trouble even for melee characters, so keeping your distance is much safer than trying to trade hits.
Good weapon choices include:
- Melee: Enchanted Sword or Mace
- Ranged: Any decent bow
- Magic: A staff
- Summoner: Any available summon
Build a simple arena with multiple rows of platforms. The extra vertical space makes it much easier to jump over King Slime and avoid him when he teleports toward you.
Eye of Cthulhu
The Eye of Cthulhu is usually one of the first major bosses you’ll fight.
It can spawn naturally at night with a 1/3 chance once the necessary progression requirements have been met, including having at least 200 maximum health and more than 10 defense.
You can also summon it manually at night using a Suspicious Looking Eye.
Eye of Cthulhu Phase 1
During the first phase, the Eye flies around while spawning smaller Servants of Cthulhu that attack you.
Keep moving and kill the smaller eyes whenever they begin getting in the way.
Eye of Cthulhu Phase 2
Once the Eye enters its second phase, it stops spawning Servants and becomes much more aggressive.
Its contact damage increases, and in Expert and Master Mode, its rapid dash attacks can be particularly difficult to avoid.
A long horizontal platform combined with Hermes Boots works extremely well here. Run along the platform while the Eye charges and reverse direction when you have enough space.
Fast or easy-to-aim weapons are especially useful.
Recommended options include:
- Melee: Blade of Grass
- Magic: Diamond Staff
- Ranged: Minishark
- Summoner: Whip combined with a Flinx Staff
Mobility matters more than trying to stand your ground. Keep running and make the Eye chase you instead.
Eater of Worlds
The Eater of Worlds is the Corruption boss and is fought in worlds containing The Corruption rather than The Crimson.
It can be summoned by destroying three Shadow Orbs in the Corruption. Worm Food can also summon it.
Use Piercing Weapons
The Eater of Worlds consists of many individual body segments. Damaging a middle segment can split the boss into multiple worms.
That makes piercing attacks extremely effective because one attack can damage several segments.
Good options include:
- Flails
- Bow with Jester’s Arrows
- Vilethorn
- Snapthorn combined with a summon
Use the Slime Mount
The Slimy Saddle’s Slime Mount can also be extremely useful against the Eater of Worlds.
Because of how the mount bounces against enemies, it can help prevent the worm from trapping you underneath its body while also damaging segments.
Prepare the Corruption Arena
Dig out a large fighting area inside the Corruption and add platforms so you have enough room to move vertically.
Fighting underground can be particularly useful in Expert Mode because the Eater of Worlds’ Vile Spit attacks are easier to deal with there. On the surface, the boss becomes more aggressive with these attacks.
Whatever arena you build, make sure you remain inside the Corruption biome or the boss can retreat.
Brain of Cthulhu
If your world generated with The Crimson instead of The Corruption, you’ll fight the Brain of Cthulhu rather than the Eater of Worlds.
Destroying three Crimson Hearts summons the boss.
Brain of Cthulhu Phase 1
During the first phase, the Brain surrounds itself with enemies called Creepers.
The Brain itself cannot be properly fought until these Creepers are eliminated, making piercing attacks especially valuable.
Brain of Cthulhu Phase 2
Once the Creepers are dead, the Brain begins teleporting around the player.
It also creates duplicates of itself to make identifying the real boss more difficult.
Weapons with good coverage or spread become particularly useful during this phase.
Recommended weapons include:
- Blade of Grass
- Boomstick
- Crimson Rod
- Whips
You usually don’t need to excavate an entirely new arena. The Crimson already contains large underground chambers.
Clear some extra space if necessary and add several rows of platforms so you can quickly move between elevations while the Brain teleports around you.
Queen Bee
Queen Bee can be summoned by destroying the Larva inside an Underground Jungle Bee Hive.
She can also be summoned using an Abeemination while inside the Jungle.
Queen Bee has three main attacks:
- Horizontal charges toward the player
- Summoning Bees
- Firing poisonous Stingers
There isn’t one trick that completely trivializes the fight, so mobility and having enough arena space are extremely important.
Build a Large Jungle Arena
Clear a large section around the Hive and add multiple layers of platforms.
You want plenty of horizontal room for avoiding Queen Bee’s charges while still being able to quickly move upward or downward when she begins firing Stingers.
Recommended weapons include:
- Melee: Blade of Grass
- Ranged: Minishark
- Magic: Diamond Staff
- Summoner: Whip with Obsidian armor
Obsidian armor is particularly useful for a whip-focused summoner because of its whip-related bonuses.
Use the Shield of Cthulhu
In Expert or Master Mode, the Shield of Cthulhu can be extremely helpful.
If you correctly time your own dash directly into Queen Bee’s charge, the Shield’s brief immunity can completely negate the damage from her dash.
The timing takes some practice, especially as Queen Bee becomes faster later in the fight.
Playing Terraria on controller?
A comfortable controller can be useful during long boss fights where you’re constantly moving, jumping, and dodging.
See Best Offers on Amazon →
Skeletron
Skeletron guards the Dungeon and must be defeated before you can safely explore most of it.
The normal method of summoning him is to speak to the Old Man outside the Dungeon at night and select the Curse option.
He can also be summoned later by killing the Clothier at night while a Clothier Voodoo Doll is equipped.
Destroy Skeletron’s Hands First
Skeletron consists of:
- One head
- Two hands
You only need to destroy the head to defeat the boss, but attacking the head immediately makes the fight unnecessarily difficult.
Destroy the hands first.
Skeletron’s head gains additional defense while its hands remain alive, particularly in Expert and Master Mode. You’re also dealing with both hands constantly attacking you if you leave them alive.
Once both hands are gone, concentrating on the head becomes much easier.
Build an Arena Outside the Dungeon
Create a large multi-level platform arena near the Dungeon entrance.
The same type of wide arena used against Queen Bee works well here because you’ll need plenty of room to avoid both the hands and Skeletron’s spinning head.
Recommended weapons include:
- Melee: Flamarang or Volcano
- Ranged: Molten Fury
- Magic: Bee Gun
- Summoner: Snapthorn with an Imp Staff
Make sure you don’t take too long. If dawn arrives while Skeletron is still alive, he becomes extremely dangerous and can quickly kill an underprepared character.
Deerclops
Deerclops behaves differently from most Terraria bosses and can be an especially annoying fight if you don’t understand his mechanics.
You can summon Deerclops using a Deer Thing in the Snow biome.
He can also appear naturally under the appropriate conditions during a Blizzard.
One unusual feature is that Deerclops does not immediately despawn just because the player dies, giving you another chance to continue fighting him.
Deerclops Attacks
Deerclops can:
- Create ice spikes from the ground
- Throw debris through the air
- Summon damaging Shadow Hands in Expert and Master Mode
The Shadow Hands are especially dangerous because they move toward the player and can deal substantial damage.
Stay Close Enough to Deerclops
A long elevated platform can make several of his ground-based attacks easier to avoid.
However, don’t simply run indefinitely.
Getting around 30 blocks or more away from Deerclops can cause him to enter an invulnerable state where he takes no damage.
Stay mobile, but remain reasonably close to the boss.
Recommended weapons include:
- Melee: Flamarang
- Ranged: Molten Fury
- Magic: Aqua Scepter
- Summoner: Spinal Tap with an Imp Staff
Since Deerclops can remain around after you die, surviving every single hit isn’t quite as critical as it is during bosses that immediately disappear when the player dies. Still, a proper arena makes the fight significantly less frustrating.
Wall of Flesh
The Wall of Flesh is the final boss of pre-Hardmode.
Defeating it permanently activates Hardmode in that world, so make sure you’re ready before starting the fight.
How to Summon the Wall of Flesh
The standard method is throwing a Guide Voodoo Doll into lava in the Underworld while the Guide is alive.
The Wall of Flesh can also be summoned if the Guide himself dies in lava in the Underworld.
Once summoned, the boss approaches from one side of the Underworld and continuously moves toward the other.
You cannot simply retreat forever.
Wall of Flesh Attacks
The Wall consists primarily of:
- Two eyes
- A mouth
- The Hungry minions
The eyes fire lasers at the player.
The mouth has higher defense, making the eyes attractive targets when you can reliably hit them.
The Wall also has numerous attached minions known as The Hungry. These can get directly in your path and make maintaining distance from the Wall considerably harder.
Build a Long Underworld Bridge
Before summoning the Wall of Flesh, prepare a long bridge running through the Underworld.
Ash is readily available and can be used to create your path, while platforms or other safe blocks can also work.
In Expert Mode, Lava Slimes can leave lava behind when killed, so consider adding occasional gaps that allow lava to drain away rather than collecting across your running path.
Clear buildings, obstacles, and terrain that could stop you while you’re running. Getting stuck for even a few seconds can end the fight.
Best Weapons for Wall of Flesh
Weapons that combine good boss damage with the ability to hit or pierce through The Hungry are especially effective.
Good options include:
- Melee: Night’s Edge
- Magic: Water Bolt
- Ranged: Star Cannon
- Summoner: Spinal Tap with an Imp Staff
The Star Cannon can deal tremendous damage, although collecting enough Fallen Stars for ammunition requires preparation.
Whatever weapon you use, keep moving. The Wall of Flesh becomes increasingly dangerous as the fight progresses, so being trapped against terrain or surrounded by The Hungry is one of the easiest ways to lose.
Terraria Pre-Hardmode Boss Order
A practical progression through the bosses covered here is:
- King Slime
- Eye of Cthulhu
- Eater of Worlds or Brain of Cthulhu
- Queen Bee
- Skeletron
- Deerclops
- Wall of Flesh
Some of these bosses are optional, and Terraria gives you plenty of freedom in the order you tackle them.
The important part is preparing your arena, bringing weapons suited to the boss’s mechanics, and prioritizing mobility rather than trying to absorb every attack.
Once the Wall of Flesh falls, Hardmode begins immediately—and Terraria’s boss progression gets considerably more dangerous from there.
Leave a Reply