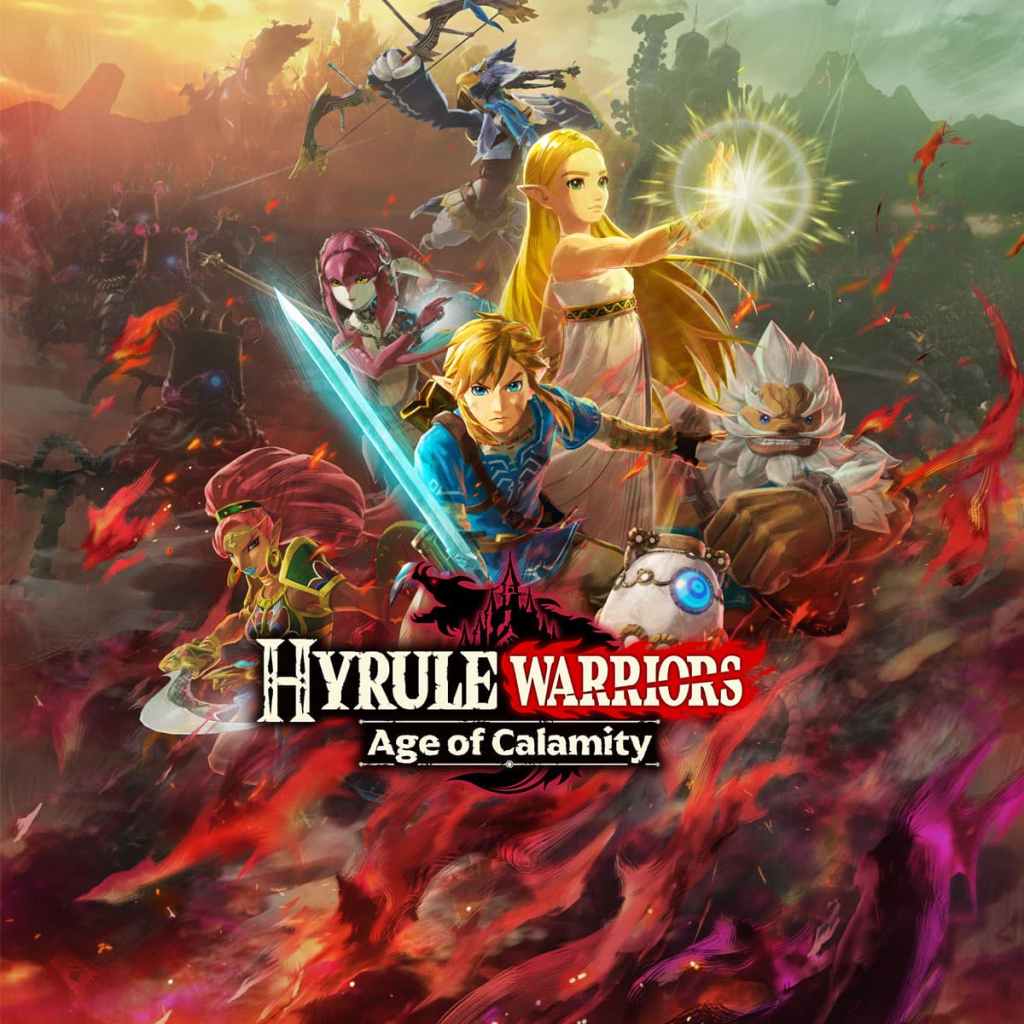
When Link wields a two-handed weapon in Hyrule Warriors: Age of Calamity, his playstyle transforms into a heavy-hitting, risk-and-reward powerhouse. This guide will break down every move, mechanic, and strategy behind Link’s two-handed toolkit, showing you how to master both his raw power and self-sacrificing combat mechanics—culminating in the infamous Immortal Combo.
Understanding the Basics – Regular, Strong, and Unique Actions
Link’s core attacks are split into two basic buttons:
- Y for regular attacks (chains of slashes)
- X for strong attacks (powerful finishers)
In this weapon style, the ZR button becomes key. It acts as a substitute for X but adds a tradeoff: massive damage in exchange for hurting Link himself. The damage Link takes is reflected in blinking white hearts, and while you cannot die from using ZR alone, it forces thoughtful play.
To heal this self-inflicted damage, you can press X outside of a chain or while idle. This makes Link eat a meal, restoring up to 8 hearts of self-damage. Despite being a healing input, X still has multiple offensive uses depending on context.
Dash Attacks – Initiating Momentum
- Y while sprinting: Basic single swing attack.
- X while sprinting: Spinning AOE attack.
- ZR while sprinting: Stronger spinning attack with self-damage.
Each of these has utility for closing gaps or opening fights.
Combo Chains – Comparing X vs. ZR Variants
One of the most fascinating aspects of this weapon style is how different ZR variations can be inserted into traditional Y-X combo chains. Let’s walk through them:
- Y > X: Upward swing that launches Link into the air, setting up aerial combos.
- Y > ZR: Similar animation but ends with Link slamming the weapon down, skipping aerial options. It’s a great ground finisher.
- Y-Y > X: Standard spin attack.
- Y-Y > ZR: Slower but deadlier triple spin, ending in a slam.
- Y-Y-Y > X: Link charges forward like a shield surf, very fluid animation.
- Y-Y-Y > ZR: Begins similarly but allows up to three extra free ZRs after the first. These bonus ZRs do not inflict damage. A fourth ZR can be added for a big finisher—this one does hurt Link.
- Y x4 > X: Short dash into spinning air slash.
- Y x4 > ZR: Same concept but adds a flurry of midair slashes. If you see the paraglider prompt, it means you can chain into aerial combos.
- Y x5 > X and Y x6 > X: Both end in forward slashes. The sixth combo just adds an extra upward swing before.
- Y x5 > ZR or Y x6 > ZR: Replaces finisher with a huge forward strike and a final sonic boom. You can mash ZR up to four times after, dealing massive AOE damage while temporarily invincible to enemy attacks (you only suffer self-damage).
This is where Link starts to feel like a tanky berserker—sacrificing safety for sheer damage output.
Aerial Combat – Extending Your Assault
Once airborne (via launchers or wall jumps), Link has several aerial options:
- Y x3: Up to three regular aerial slashes.
- X: Aerial strong attack.
- ZR: Airborne variant of his unique attack.
- Paraglider: Glide out of danger or reposition mid-air.
One of the slickest chains in Link’s arsenal is from Y x4 > ZR, which launches you and opens aerial combos. You can cancel the flurry into a glider, a slam, or continued air attacks depending on the situation.
Defensive Techniques – No Shield, No Problem
With a two-handed weapon, Link loses access to perfect guard. However, he retains Flurry Rush, activated by perfectly timed dodges. If you time B right as a boss attacks, you’ll trigger a rapid attack sequence that melts weak point gauges.
Rune Abilities – Still Core Tools
Link’s runes remain unchanged regardless of weapon type:
- Stasis (R + X): Freezes enemies, letting you set up massive combos.
- Remote Bomb (R + Y): Great for airborne or shielded enemies.
- Cryonis (R + A): Summons a pillar—useful for intercepting charges.
- Magnesis (R + B): Grabs metal objects and attacks with them. Also reflects thrown weapons.
Special and Weak Point Attacks
- Weak Point Smash (X): Triggers when the enemy’s gauge is broken. With two-handed weapons, Link has two common animations depending on the enemy.
- Special Attack (A): Once the meter is full, pressing A does major damage and can also be used as a panic buttonto cancel incoming damage if timed right.
The Immortal Combo – Damage Without Risk
This is the ultimate strategy that elevates two-handed Link into top-tier status.
Step-by-Step:
- Initiate with Stasis (R + X) to freeze the boss.
- Launch into Y x5 > ZR or Y x6 > ZR for the massive forward slashes and the sonic hurricane finisher.
- Mash ZR to extend the combo up to four times without self-damage.
- As the combo ends, Stasis is already off cooldown.
- Repeat from Step 1.
During this loop, Link is essentially immune to enemy damage while dealing devastating hits. The only risk is managing your self-damage—but with well-timed X healing, you can reset your hearts and keep going. This strategy is what makes the build immortal.
Final Thoughts – The Risk-and-Reward Champion
Link with a two-handed weapon is not for the faint of heart. You’ll need to balance your risk, watch your health, and chain ZR combos thoughtfully. But once mastered, this version of Link becomes a devastating force—sacrificing health for overwhelming pressure, dominating enemies with invincible chains, and resetting the field with clever stasis usage.
If you like your warriors strong, bold, and a little reckless, this is the Link for you.


Leave a comment