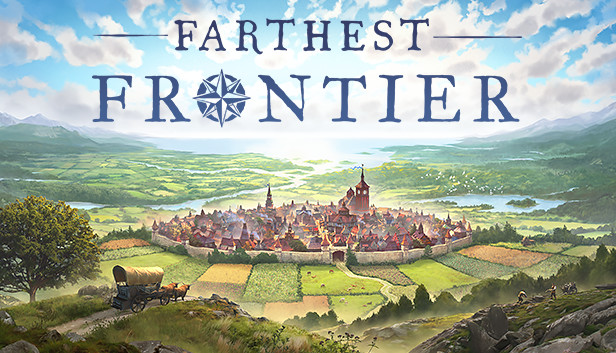
Farming in Farthest Frontier isn’t just about throwing seeds into the ground and waiting for harvest. To truly master the system, you need to pay close attention to fertility, spoilage, field rotation, and long-term sustainability. This guide breaks down an optimal early-game setup and strategy that will carry you through those fragile first years—and help you avoid the food shortages that ruin many settlements.
Start with a Manageable Field Size
While it’s tempting to go big right away, especially when looking at the impressive 12×12 max grid with a full 12 workers assigned, that level of development isn’t necessary right out of the gate. Instead, begin with a more reasonable 12×6 field. It’s efficient, scalable, and doesn’t overextend your workforce. Plus, when you’re ready to grow, you can easily expand the grid outward without rebuilding from scratch.
Choose the Right Crops: Turnips, Clover, and Peas
This crop rotation provides both sustenance and field health:
- Turnips: A solid early-game food source with decent yield and frost resistance. They reduce soil fertility by 2 points.
- Clover: Not for eating, but a crucial soil booster. It improves fertility by +3 and helps control weeds.
- Peas: Another modest food source, offering a +1 fertility gain and solid shelf life.
Altogether, this cycle gives you a +2 net fertility boost per year, while suppressing weeds and supporting consistent yields. It’s low maintenance and keeps your soil thriving.
Compost Early and Automate It
Don’t wait until your town is advanced to use compost yards. Compost is an invaluable resource that boosts fertility and keeps your food system efficient. With only one large field, you can automate compost delivery directly to that field. This continuous loop—of growing, composting, and feeding back into the same plot—creates a self-sustaining agricultural base.
Understand Environmental Fertility and Site Selection
Before placing your first field, examine the land’s natural fertility. A poor choice here can sabotage your crops from the start. Aim for areas with high environmental fertility—ideally in the 90%+ range—and build from there. Fertile soil saves you time, effort, and resources over the long haul.
Why This Setup Works: Yield, Balance, and Longevity
The combination of turnips, clover, and peas doesn’t just keep your people fed—it sets the foundation for future growth. Once your fertility maxes out and weeds are minimized, you can push your yield to over 2,000 units from a single field. Add compost, and you’ll achieve consistently high returns with minimal micromanagement. This setup also offers excellent shelf life:
- Turnips: ~9 months
- Peas/Beans: ~18 months
- Wheat: ~24 months
Longer shelf life means less spoilage, which is vital in early game when storage and preservation buildings are limited.
Introducing Wheat for Mid to Late Game
As you progress, integrating wheat becomes essential. It stores well and, once processed in windmills, can be turned into flour—a highly valuable, long-lasting food source. You can rotate wheat into your established fields, but be mindful: wheat doesn’t produce edible food directly, so balance your cropfields across years. For example:
- Field A, Year 2: Grow wheat
- Field B, Year 2: Grow turnips/peas for food
This ensures a steady food supply while setting up your flour economy. Always cycle between food and non-food crops across your multiple fields to maintain balance and avoid starvation.
Field Cycling Strategy: Preventing Feast and Famine Years
One of the most common mistakes players make is planting the same crop everywhere in the same year. This can cause devastating “feast and famine” cycles where you have too much one year and nothing the next. Instead, cycle your crops across multiple fields:
- Grow wheat in one field
- Grow turnips and peas in another
- Then rotate the next year
This ensures constant food production, while still allowing you to develop long-lasting flour and bread stocks.
Root Cellars and Windmills: Long-Term Solutions
As your food production scales, invest in root cellars to store perishables and windmills to process wheat. These not only reduce spoilage but also expand your settlement’s capacity to endure lean times or sudden population booms.
Twelve Workers Per Max Field: The Sweet Spot
Once you’ve expanded to a full 12×12 field, twelve workers is the optimal number. It keeps the operation smooth without over-assigning labor. You’ll rarely face delays, and field upkeep (like reducing rockiness or performing maintenance cycles) becomes easier to manage.
Conclusion: Early Game Farming, Mastered
To summarize:
- Start with a 12×6 field
- Rotate turnips, clover, and peas
- Use compost early and often
- Select fertile ground
- Expand to wheat and multiple fields later
- Cycle crops across fields to avoid shortages
This system is balanced, sustainable, and highly effective. With high fertility, low spoilage, and strong yields, you’ll build a food foundation that can support your village through any season. Farming doesn’t have to be a gamble—in Farthest Frontier, it can be your strongest strategic asset.


Leave a comment