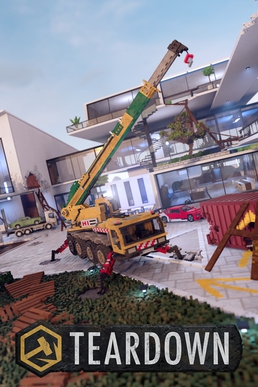
This mission, “Assortment of Dishes,” might look complicated at first, but once you break it down with some simple prep and routing, it’s a smooth and satisfying heist. There are six targets total: four primary and two secondary. Our goal? Get all of them and escape without a scratch. Here’s how you do it.
Step 1: Dropping the Tower
Start by dropping the large tower near the starting point. Cut the support beams on one side — just above the metal brackets — and split the connecting beam. This should cause the tower to collapse toward the adjacent building. If it doesn’t fall properly, trim the remaining beams until it topples into place. This sets up a fantastic bridge to get across safely during your run.
Step 2: First Target
Begin your run in the building near where the tower falls. Inside, hack the first target quickly. This triggers the arrival of the helicopter, but with the right route, you’ll stay ahead of it the entire time.
Step 3: Chain of Hacks
- Second Target: Located directly across the courtyard. Blast open the wall between you and the objective for a quick grab.
- Third Target: Go downstairs and access the objective through a bombed-out section of the floor.
- Fourth Target: Move through another pre-blasted hole to grab the next one in a warehouse room. Break the glass on both sides so you don’t fumble during the escape.
Step 4: Moving to the Tower
Thanks to the collapsed tower, you can run straight across the roof to the next zone.
- Fifth Target: Enter the building where a dish sits outside the top floor. You can hack it through a small opening, or better yet, shoot it loose and grab it from cover. Be sure to blow open the adjacent wall so you can jump out the window and keep moving.
Step 5: Final Target Options
- There are two approaches here:
- Top Route: Go upstairs and out through a pre-made hole in the wall, drop down, and reach the sixth target. Watch for fire and don’t let rockets hit you through open windows.
- Lower Route: Go along the bottom through a safe tunnel. It’s slower, but you avoid a lot of damage. This can be a better option if you’re struggling with the top path.
Step 6: Escape Plan
Once you’ve got the final objective, make your way back around via the blast holes in the wall. Jump across the gap and run to the escape boat. If you followed the optimized routing, the helicopter won’t even get a chance to hit you.
Optional Target (Dish in Lower Floor)
There’s a side dish hidden behind a fake wooden door. If you’re feeling ambitious:
- Blow a hole in the ground floor.
- Grab the objective and either backtrack or take a plunge and climb back up.
- It’s doable but can draw the helicopter in your direction, so only attempt it if you’re confident.
Bonus Tips
- The shotgun is your best friend for breaking walls and covering your tracks.
- Planks can save you from unnecessary jumps or fall damage.
- Avoid fire and keep some extinguishers nearby.
- If you’re struggling with a robot or security camera, disable them early during setup.
With about 5–10 minutes of preparation, you can complete “Assortment of Dishes” in a single smooth run, collecting all objectives and escaping untouched. With no strict time limit, this one’s all about clean routing and efficient use of explosives.
Good luck out there, and happy tearing down!


Leave a comment