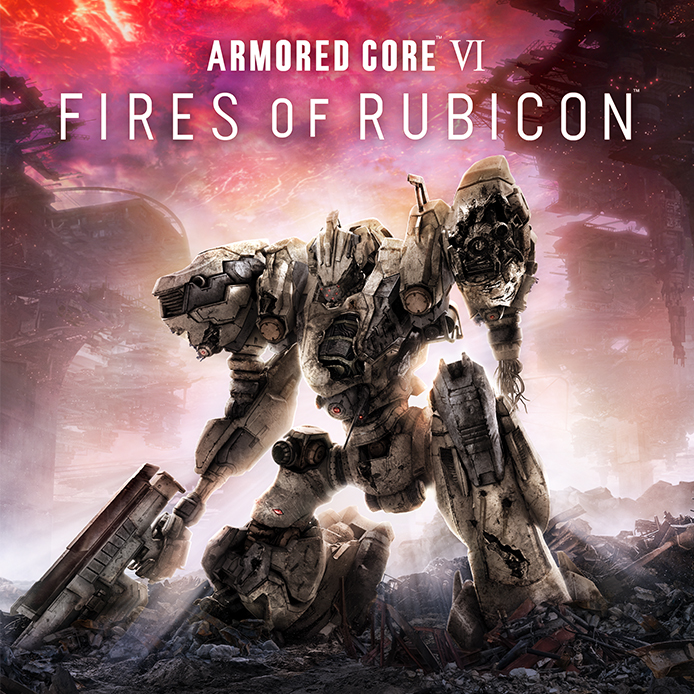
Earning S-ranks in Armored Core 6: Fires of Rubicon isn’t just about brute force or a singular “god build.” It’s about adaptability, preparation, and understanding what kind of mission you’re up against. This guide dives into mission classification, optimal loadouts, and tactical adjustments—plus five crucial tips (including a must-have tool) that will help you push every mission over the S-rank finish line.
Let’s break down the essentials and turn you into a ranking machine.
Understanding Mission Types
Identifying the mission type early on is critical. Each one demands a different approach, and failure often stems from using the wrong build or tactics. Here are the four core types of missions in Armored Core 6:
1. Standard Combat Missions (Easy S-Ranks)
These are typically early-game missions without bosses and filled with basic enemy fodder. They’re forgiving in terms of ammo, damage, and time—making them ripe for your first S-ranks. Mistakes here usually come from being too slow or wasting too much ammo.
Examples: Grid 135 Cleanup, Attack the Dam Complex, Retrieve Combat Logs, Destroy the Weaponized Mining Ship, Tunnel Sabotage.
Loadout Recommendation: Use a lightweight AC with twin laser rifles in front and laser cannons in the back. It’s ammo-efficient, deals reliable damage, and has enough durability to withstand basic attacks.
2. Long-Range Defense Missions (Objective Timed)
These mid-to-late game missions often involve defending key objectives from incoming enemy waves. Time and ammo usage matter a lot here. Precision from long range is the only way to meet the S-rank thresholds.
Examples: Destroy Transport Helicopters, Prisoner Rescue, Stop the Data Breach, Heavy Missile Support, Coral Export Denial.
Loadout Recommendation: Stick with your laser-based first AC build, as it’s perfect for sniping distant enemies and minimizing movement. Prioritize range and ammo economy over brute force.
3. Boss Missions (Mini/Major Boss Fights)
These missions focus on one or more powerful enemies. Ammo and damage thresholds are lenient, but time is tight. If your weapons aren’t optimized to burst bosses down quickly, you’ll miss the rank.
Examples: Eliminate the Enforcement Squads, Underground Exploration Depth 2, Prevent Corporate Salvage, Defend the Dam Complex, Attack the Old Spaceport.
Loadout Recommendation: Use your second AC—heavy, with a pile bunker in the front and two Morley rockets in the back. This combo delivers huge burst potential. Use rockets to stagger, then punish with charged melee.
4. Hybrid Story Missions (Mixed Enemies and Bosses)
These late-game, story-heavy missions throw everything at you—ads, mini-bosses, bosses—and typically include long travel time, cutscenes, and high enemy density. They’re lenient with repairs but challenging in every other regard.
Examples: Attack the Watch Point, Ocean Crossing, Coral Release, Floating City Survey, Shutdown the Closure Satellites.
Loadout Recommendation: Third AC—medium-heavy with dual HU-BENs and dual stun needle launchers. While normally too ammo-heavy for S-ranks, these missions are generous with ammo use and let you unleash massive damage to keep the pace.
Five Game-Changing Tips for Earning S-Ranks
1. Use the S-Rank Calculator
Available via the link in the description (or downloadable as a fan tool), this calculator lets you plug in data from your attempts—time, ammo usage, and damage taken—to pinpoint what’s holding you back. It’s your blueprint for course correction and helps optimize replays.
2. Choose the Right Expansion
Your OS Expansion can define success or failure:
- Assault Armor: Best for stagger-heavy playstyles. Use to speed up boss encounters and conserve ammo.
- Terminal Armor: Ideal for missions with multiple bosses or high risk of death. Grants you a buffer to survive one lethal blow.
- Pulse Armor: Niche, but excellent for missions where incoming damage is near-unavoidable. Think Nepenthes or the multi-tower laser gauntlet.
Also, rebind your expansion key—especially on PC. Putting it on scroll wheel or an easily accessible button drastically improves response time during combat.
3. Pick the Right Build for the Right Mission
One build won’t carry you through all S-ranks. Analyze the mission description and adapt accordingly:
- “Explore” missions? Go light.
- “Eliminate” missions? Go heavy.
- “Defend” missions? Go long range.
Each of your three main builds (light sniping, heavy melee burst, balanced DPS) should be slotted and ready to deploy.
4. Rely on Mission Descriptions as Hints
They’re subtle, but the mission briefings often telegraph what type of enemies you’ll face and how the mission will play out. Take a moment to read them and build accordingly.
5. Don’t Be Afraid to Research and Experiment
Some missions are harder than others. If you’re stuck, search what others did—some missions contain optional enemies or side encounters that increase your score significantly.
Example: The Prisoner Rescue mission includes a hidden mini-boss that dramatically boosts your score if taken out. Without it, the S-rank might feel impossible. Research and trial-and-error go a long way.
Final Word: Adapt, Analyze, Achieve
S-ranks are less about perfection and more about understanding what the mission wants from you—then giving it in the most efficient way possible. Use the right tools, the right builds, and the right tactics, and every mission becomes another victory in your S-rank conquest.
Stick with the strategy, think critically, and you’ll have that Perfect Mercenary trophy before you know it. Good luck, Raven!


Leave a comment