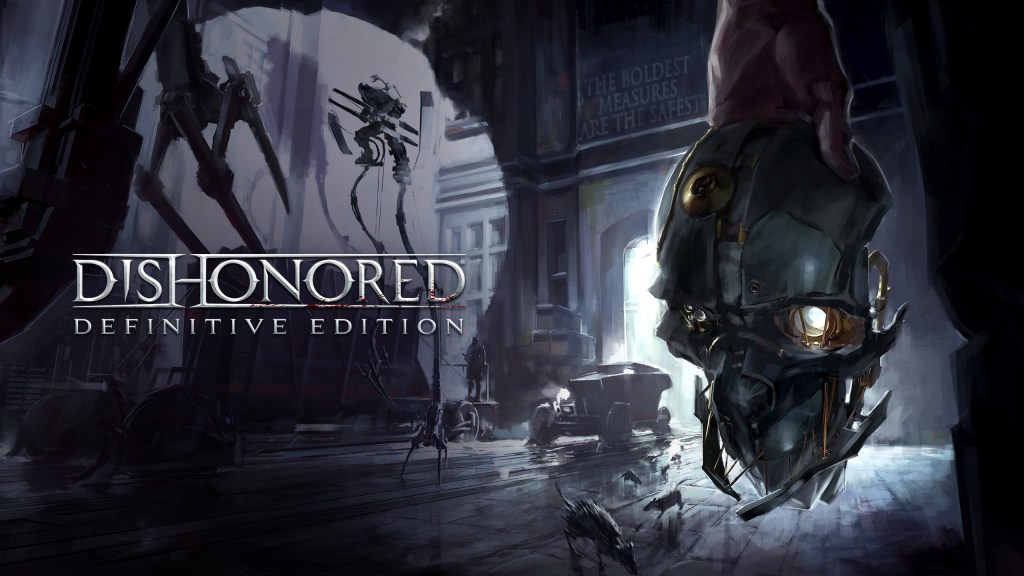
Twelve years since its release, Dishonored remains a gold standard for stealth gameplay. With its layered systems and open-ended design, it invites a rare kind of challenge: beating the entire game without being seen, without killing a single person, and on the hardest difficulty. That means zero alerts—even the first tier of detection invalidates a run. What follows is my full breakdown of how I did just that, from the moment Corvo is framed to the final quiet takedown at the lighthouse.
Prologue and Escape: Slipping Past Shadows
The game begins with betrayal—Corvo framed and imprisoned. The early guards in the prison test your patience, but timing and positioning are your allies. After dodging two particularly problematic soldiers, I blew open a door and narrowly avoided boxing myself in. The intended route required a high drop with visible exposure, so I sidestepped the script, climbing down a side path and diving into the river below, successfully avoiding line of sight from distant guards.
From there, the sewers posed little threat, and after slipping through unnoticed, I met Samuel—our boatman and lifeline. He brings us to the Hound Pits Pub, our base of operations and the place where this challenge truly begins. It’s here we receive the Outsider’s Mark and, with it, the critical power of Blink. After collecting a couple of runes to extend its range, we embark on our first real mission: eliminating the High Overseer.
The High Overseer: Branding Instead of Killing
Avoiding detection meant staying to rooftops and evading soldiers entirely. After finding a useful NPC (whose vision didn’t count against my challenge), I infiltrated the overseer’s sanctum. Because lethal takedowns were off-limits, I couldn’t kill the target. Instead, I tracked down both the branding manual and branding tool, then put the Overseer to sleep with a dart and marked him for exile—poetic justice.
The Sewers and Time Shenanigans
Back at base, I was sent to clean up a mess in the sewers. Here I encountered blind enemies who, ironically, were more perceptive than most. Traditional approaches failed. Rats ignored my commands. But then I remembered Bend Time. By freezing time mid-movement—even if their vision cones appeared active—I managed to slip by without triggering detection. We were in-between the fabric of time itself, and it worked.
The Golden Cat: A Lethal Setup Without Killing
Next stop: the Golden Cat. The goal? Save Emily and eliminate two brothers. The crossing before the brothel triggered a scripted ambush, so I pulled a reverse—ambushed the ambushers. After reaching the Cat and freeing Emily, I faced a problem: non-lethal resolution. Killing was not an option, but Slackjaw offered a solution—rob the brothers’ safe, and he’d handle them. A moral gray area, but within the rules.
Kidnapping and Confidence
The following mission involved a swift abduction. Stealth swimming, sneaking past patrols, and extracting a hostage—all without raising an eyebrow. Despite a moment of confusion, I completed it without being seen. Confidence was building.
The Boil Estate: Disguises and Deduction
The party at the Boil estate was the run’s greatest test. Disguised, I could move freely, but one wrong move and it would all collapse. I needed to identify and eliminate a single target out of three similarly dressed women—without killing. Fortunately, an NPC lover of the target agreed to help, if I identified the right woman.
A letter in the dressing room revealed she wore black. After disabling the security system and using stealthy basement access, I arranged for her discreet removal. No blood, no chaos, and another mission down.
Lord Regent: Taking Down the Big One
Returning to the palace from the intro, I crept past the guards and discovered a helpful propaganda officer. If I could retrieve a document from the Lord Regent’s safe, he’d expose him. Done and done. The Lord Regent was taken down with paperwork, not weapons. Elegant.
But the game wasn’t over.
Betrayal and Imprisonment
Of course, Corvo is betrayed and poisoned—almost. Samuel saves us, giving us one last shot at justice. Waking up in a remote prison, I ran into a stubborn guard and a dog. After some trial and error, I navigated past them, spared my captor, and escaped through a heavily patrolled sewer system. With no need to retrieve Emily’s letter, I focused solely on movement and timing, grabbing a blueprint on the way.
The Final Rescue
After regrouping with allies, my last mission was clear: infiltrate the lighthouse and save Emily. There were two entrances—beach and harbor. The harbor proved too watchful, so I scouted the beach and found a pipe that let me sneak in.
Once inside, challenges remained. I navigated under a tallboy mech, stole a key, and climbed my way upward toward the final confrontation. One last stubborn guard blocked my path—immune to distractions and darts. The solution? Go higher. I climbed and climbed, and to my astonishment, it worked.
Inside the lighthouse, I finally found my target. One sleep dart later, the mission—and the entire game—was complete.
Final Thoughts: Ghost, Clean Hands, and Pure Stealth
The game confirmed my success: the Ghost and Clean Hands achievements were unlocked. Every mission screen backed it up. Not once was I seen, and not a single soul died by my hand.
This run took patience, creativity, and adaptability. Dishonored rewards all three. Whether you’re here for the thrill of the challenge or the satisfaction of doing the impossible, trust me: slipping through the cracks of Dunwall without a trace is one of the most rewarding ways to play.


Leave a comment