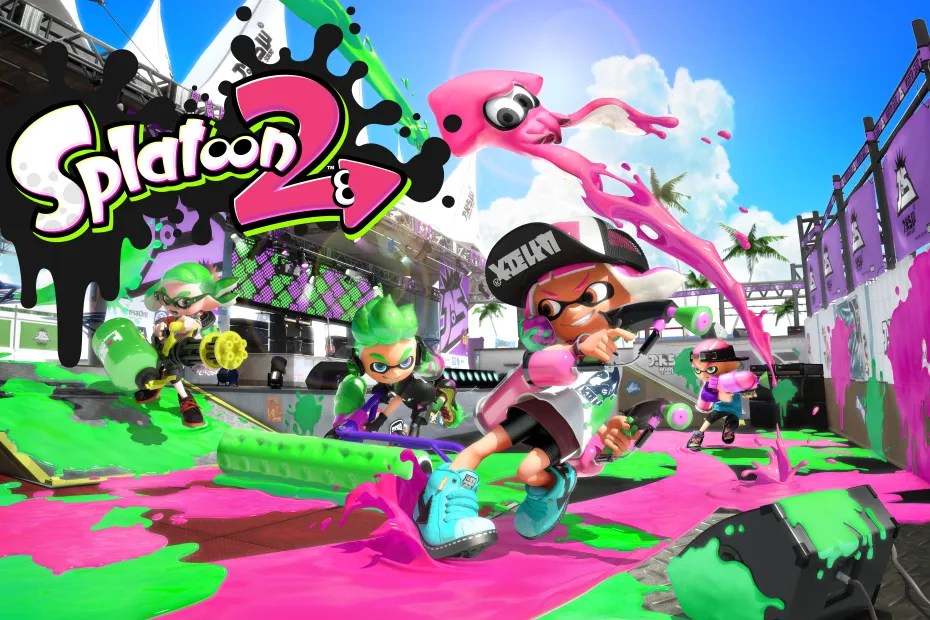
Welcome, Inklings! In this guide, we’re diving deep into one of Splatoon 2’s most misunderstood weapons: the Tentabrella. While often overlooked in competitive settings and rarely celebrated like top-tier meta weapons, the Tentabrella offers a unique playstyle centered around defense, support, and objective control. It’s slow, clunky, and difficult to master—but with the right strategy, it can become a disruptive force on the battlefield.
Why Play Tentabrella?
Let’s be honest: when someone sees a Tentabrella on their Ranked team, the initial reaction is often a groan. It’s sluggish, has long endlag after shots, and performs poorly at range. But these surface flaws mask a deceptively powerful toolkit—especially when paired with coordinated teammates.
The Tentabrella’s shield mechanic makes it uniquely suited to zone denial, choke point control, and frontline pushing. It’s a weapon that thrives not through raw splatting power, but through spatial control and strategic presence.
Basic Stats and Functionality
- Sub Weapon: Beacons
- Special: Bubble Blower (170p) — tied for the lowest bubble cost in the game
- Damage Output:
- Around 20 damage at long range (3 lines in the training room)
- 70+ damage at 1.5 lines
- Potential one-hit KO at close range with accurate shots
- Shield bump damage: 30 damage on contact
Because the Tentabrella functions like other Brella-class weapons, damage heavily depends on hitbox overlap and proximity. Your shield costs 30% ink to deploy—40% if combined with a shot beforehand—so efficient ink usage is critical.
Bombs instantly detonate when hitting either side of the shield, making it a double-edged sword. Always watch for curling or suction bombs, and never open your shield with a teammate directly behind you.
Combat Strategy: How to Survive and Control
Spacing Is Everything: Despite its low DPS at range, you want to engage enemies from as far as possible. The shield discourages close-range aggression, and chip damage helps whittle enemies down safely.
Keep the Fire Button Held: This might seem obvious, but don’t spam shots when under pressure. Fire once, then hold to be ready to deploy your shield instantly if someone closes in.
Predict Enemy Movement: Due to its sluggish fire rate, the Tentabrella isn’t a reactionary weapon. Anticipate where opponents will move—especially when they attempt to strafe around your shield—and lead your shots accordingly.
Cornering and Choke Points: This is where Tentabrella shines. Place your shield in a tight space like a hallway or against a wall, and funnel enemies toward your teammates or into predictable paths. The Tentabrella becomes a wall—and a deadly one when combined with a high-damage shot.
Matchups and Enemy Weapon Types
- Chargers & Splatlings: Typically hard to approach—but not for you. Launch your shield and slowly push forward. They must either relocate or try (and often fail) to break the shield.
- Blasters: Dangerous due to splash and arc. Short-range blasters can jump and aim above your shield. Stay mobile and switch sides behind your shield to avoid indirect hits.
- Mid/Long-Range Shooters: They’ll either backpedal or attempt to rush you. Play patiently. Launch your shield when you’re ready to advance. If they rush, play like you’re handling a short-range fight.
- Bomb Users: Always expect bombs to come out when your shield is up. Use its presence as a psychological tool—but don’t rely on it as perfect protection.
Bubble Synergy and Positional Play
One of the Tentabrella’s biggest advantages is how well its Bubble Blower covers blind spots. Since your shield only protects you from the front, place bubbles to either side or just behind the shield to help your team push forward safely.
Use this combo especially when escorting Rainmaker or pushing with Power Clams. The combination of shield + bubbles forms a movable fortress. Just remember—you’re not tied to your shield. You can push flanks, maintain bubbles, or even zone enemies while your Brella slowly advances.
Terrain Control and Falloff Damage
Due to its high ink spread, the Tentabrella actually does well with fall-off damage—damage dealt when firing over a ledge or wall. Many weapons lose most of their power this way, but Tentabrella can still land lethal damage due to how much ink it flings.
This makes it perfect for scouting or pre-firing around corners, especially if your opponent is in squid form (which has a wide hitbox across the ground).
Best Modes for Tentabrella
- Rainmaker: Excellent. Your shield can absorb Rainmaker shots, and you can lead pushes with strong cover.
- Clam Blitz: Solid. Tentabrella can escort carriers safely and block chokes effectively.
- Splat Zones: Decent. Good painting power and area control, though you’ll need situational awareness.
- Tower Control: Poor. Shield launches after 2 seconds on the tower and struggles to hit enemies there.
Best Maps
- Port Mackerel: Your best bet. The narrow lanes are perfect for controlling space with your shield.
- Camp Triggerfish (Bridge), Humpback Pump Track (Elbow): Great for creating choke point pressure.
- Shellendorf Institute (Rooftop Access): Allows shield-based flanks on long-range campers.
Avoid maps with verticality where enemies can shoot down on you easily (e.g., Moray Towers, Goby Arena).
Gear Recommendations
- Object Shredder: Crucial. Helps destroy bubbles, armor, and Rainmaker shields faster.
- Special Power Up: Increases bubble size and durability.
- Ink Saver (Main): Extends your longevity in firefights.
- Run Speed Up: Improves movement after firing, helping you stay evasive.
Final Thoughts
The Tentabrella is not meta, but it’s not worthless. With intelligent play, proper spacing, and support coordination, it becomes a powerful escort and control weapon. Mastering the Tentabrella means understanding its flow—shield, predict, punish, push. If you enjoy playing support while still holding the front line, this might be your secret weapon.
Give it a try in Clam Blitz or Rainmaker, practice using the shield intelligently, and let those bubbles pave the way to victory.


Leave a comment