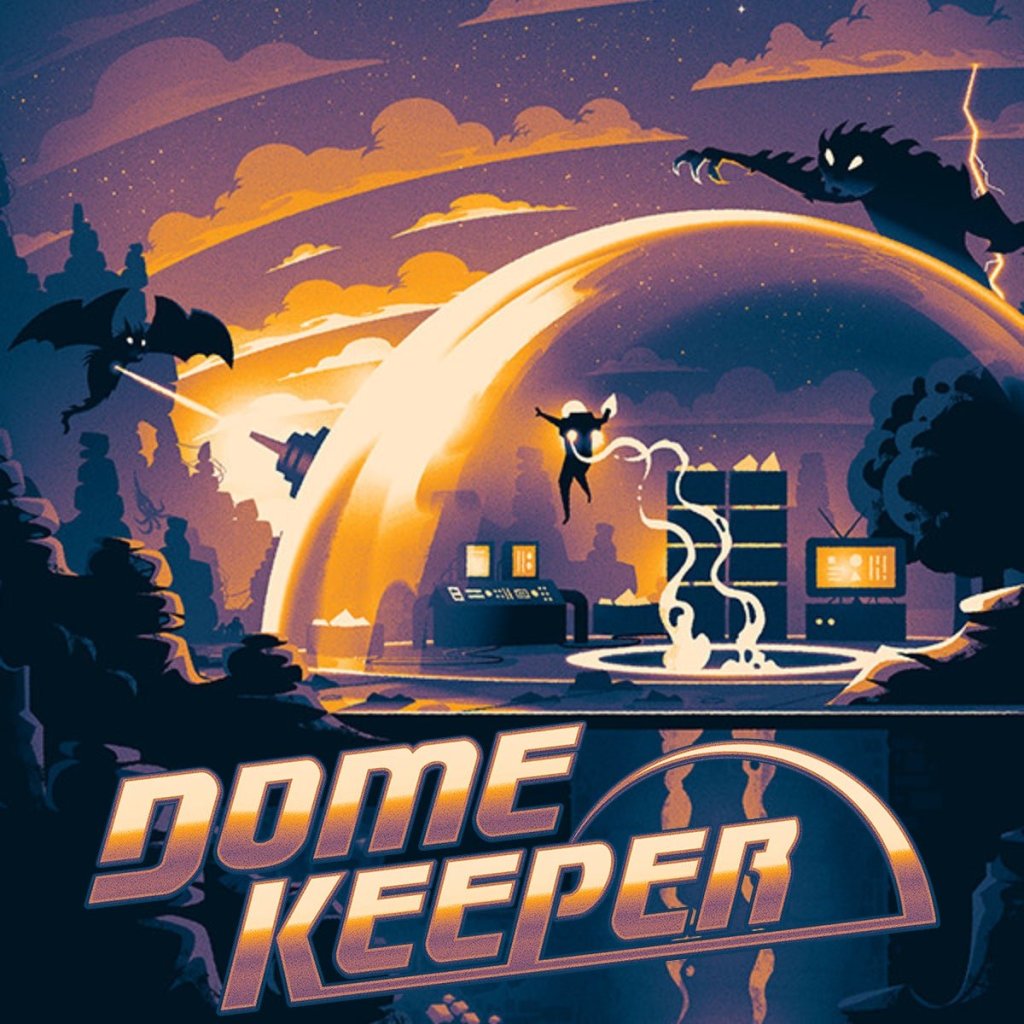
In one of the most unconventional challenges you can attempt in Dome Keeper, players now have the option to go completely hands-free on offense. With the Automation modifier enabled, you start with no main weapon, but are equipped with every defensive gadget available—the Spire, Auto Cannon, and Stun Laser—all running with Gadget Autonomy. Your role? Stay alive, mine hard, and upgrade wisely. This guide will walk you through how to dominate a fully automated run.
Understanding the Setup: What You Start With
This run changes the core gameplay loop of Dome Keeper. Instead of toggling back and forth between mining and dome defense, you become a full-time miner and resource manager. Combat? That’s left entirely in the hands of your gadgets. Starting gadgets include:
- Spire: Handles ground units with charge-based damage.
- Auto Cannon: Fires at aerial and ground threats.
- Stun Laser: Paralyzes enemies, great for crowd control.
The lack of a laser weapon means your upgrade priorities must shift immediately toward mobility, mining speed, and gadget upgrades.
Early Priorities: Speed, Drill Power, and HUD Utility
With no way to defend directly, your best strategy is to empower your defenses quickly. The first goals:
- Jetpack Speed: For faster resource hauling.
- Drill Strength: Purple rock shows up quickly, so don’t delay.
- HUD Upgrades: Having a full wave timer and resource display helps you make smart mining decisions.
Also, as you explore, you’ll notice that your gadgets are already autonomous and can be upgraded without your active control. This means you can’t aim or trigger them yourself—but you can turn them into devastatingly effective sentries.
Upgrade Paths: Making Gadgets Godlike
The key to survival is gadget synergy. Each one covers a different threat type:
- Auto Cannon: Best upgraded with speed and autonomy. In later stages, it clears smaller enemies and flyers with ease.
- Stun Laser: Should focus on area stun and strength. When upgraded correctly, it will paralyze an entire squad.
- Spire: Upgrades here focus on burst vs. sustained fire. Both are viable—burst is better for quick kills, but sustained fire helps when enemies stack up.
For each gadget, aim to max out one path first. For example:
- Auto Cannon → Speed Up + Autonomy
- Stun Laser → Firing Strength + Area Stun
- Spire → Burst Fire + Ground Split
Relic and Gadget Picks: What to Look For
A few gadgets shine in an automation run:
- Teleporter: Teleport yourself and resources, making hauling fast and efficient.
- Condenser: Automatically generates water over time—perfect since you’ll need plenty.
- Vision Node Upgrade: Adds visibility of hidden ores, allowing efficient cobalt and iron farming.
You might encounter Drillbert or Lift, but they’re less essential with the teleporter’s strength and your speed upgrades.
One big decision came down to choosing between Drillbert and the Condenser. While Drillbert is always fun, the Condenser wins out for water generation, which fuels many of your best upgrades.
Midgame Strategy: Full Automation in Motion
Midgame, you’ll want to:
- Upgrade your teleporter cooldown for rapid cycling.
- Begin area-based upgrades for the stun laser and Spire.
- Invest in shield strength and regeneration, because without a laser you’ll sometimes take hits.
Also, start planning for resource loops using the seed and iron trees. Planting iron trees in strategic locations near your teleport path will passively generate new ore.
It’s also crucial to upgrade the auto-collect functionality of your condenser and teleporter. If you can reduce your manual tasks to mining and planning, you’ve hit peak automation.
Combat Analysis: Watching the Dome Defend Itself
This is the part where things get fun. Standing at your control console and watching waves melt before your automated defenses is wildly satisfying.
Common threats and how your gadgets handle them:
- Popcorn Crawlers: Stun Laser handles these best when equipped with area stun.
- Flyers: Auto Cannon takes these out fast, especially when paired with high projectile speed.
- Heavy Ground Units: The Spire’s burst or sustained fire takes care of them with enough upgrades.
Late-game enemies will start to break through if you haven’t been upgrading steadily. Always keep cobalt in reserve for emergency repairs.
Endgame Tips: Final Battle and Resource Prep
Once you’ve mined out the map and found the Relic activation points, prepare for the endgame wave. Use the teleporter to move the relic to the surface, and make sure you’re fully upgraded:
- Shield Maxed
- Spire Strength and Speed
- Auto Cannon Autonomy and Reload
- Stun Laser Maxed Stun Duration and Area
It may also be worth investing in area damage or split fire for additional crowd control.
The final battle is all about holding the line. Let your gadgets do the work. Your job? Keep repairing and don’t panic.
Conclusion: The Dome That Defends Itself
It’s not every day you beat Dome Keeper without ever pulling the trigger. This automation challenge forces a completely different mindset—resource flow, gadget synergy, and tactical upgrades become the path to victory.
And if you plan well, upgrade smart, and let your gadgets do what they’re best at, your dome won’t just survive—it’ll thrive, fully automated and utterly unstoppable.
Keep your stick on the ice, and let the machines do the heavy lifting.


Leave a comment